Down in my Boise workshop, excessive fan noise and thermal overheating are the number one issues that bring frustrated laptop owners through my door. A laptop that ran silently when unboxed suddenly starts sounding like a jet engine during simple web browsing, leaving owners wondering if their hardware is failing. The spec sheet promises quiet thermal management, but daily ownership dust, background software bloat, and aging thermal paste can disrupt heat dissipation. Let's walk through a systematic diagnostic checklist to fix fan noise and overheating for good.
Understanding Thermal Throttling and Acoustic Whine
To solve thermal problems effectively, you first have to understand why your laptop fans are screaming in the first place. Modern CPUs and GPUs generate concentrated thermal energy across tiny silicon dies under workload. Internal copper heat pipes absorb this thermal energy, transfer it to finned aluminum radiators, and rely on high-RPM fans to push cool air through the chassis and exhaust hot air outside.
When heat transfer efficiency drops—whether due to clogged exhaust fins, dried-out thermal paste, or software bugs pushing processors to 100% utilization—internal temperatures spike toward critical limits (typically 95°C to 100°C). To prevent physical silicon damage, the system BIOS automatically ramps fan speeds up to maximum RPM and throttles clock speeds sharply. This thermal throttling manifests as loud fan whine accompanied by sudden, jarring frame drops in games or sluggish desktop performance.
Ignoring thermal throttling over extended periods strains internal voltage regulators, degrades battery chemistry faster, and creates an unpleasant computing environment. Following a structured diagnostic process allows you to isolate whether your thermal issues stem from software background hogs, mechanical dust buildup, or BIOS configuration errors.
Phase 1: Software Audits and Identifying Background Power Hogs
Before picking up a screwdriver to open your laptop chassis, always start your diagnostic process by auditing software tasks running inside Windows 11. In over half of the overheating cases brought into my workshop, the hardware is physically fine; instead, a rogue background application or hidden telemetry service is pinning CPU cores at high utilization while the user thinks the machine is sitting idle.
Open Windows Task Manager using Ctrl+Shift+Esc, select the Processes tab, and sort active tasks by CPU percentage. Look for background web browser helpers, corrupted cloud sync utilities, anti-virus scanners, or secondary game launchers consuming unexpected processor cycles. Ending these rogue tasks drops CPU utilization instantly, allowing internal temperatures to cool down and fans to settle back into quiet idling modes.
Next, check your Windows Startup Apps list and disable non-essential applications from booting automatically when your computer turns on. Furthermore, open Armoury Crate or MyASUS and verify that your system is not accidentally locked in Turbo or High Performance mode while doing simple office work. Switching your operating profile to Silent or Balanced mode applies lower voltage targets that reduce thermal output immediately.
Phase 2: Physical Inspection, Dust Removal, and Airflow Clearance
If software audits confirm your system is idling at low CPU utilization but fan noise remains loud, physical airflow restrictions are usually the primary culprit. Over months of regular use on desks, beds, and lap surfaces, cooling fans act like tiny vacuum cleaners, pulling ambient dust, pet hair, and carpet fibers into internal cooling channels. This debris forms a dense blanket across radiator exhaust fins, blocking airflow completely.
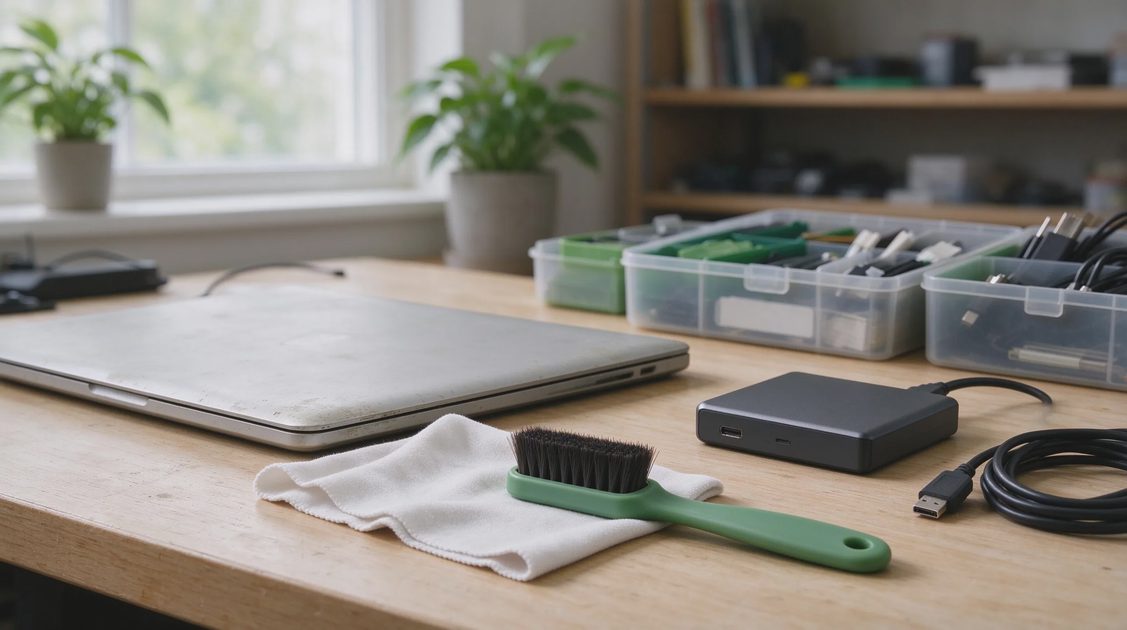
To clear internal dust safely, power down your laptop completely, disconnect the AC charger, and remove the bottom chassis cover using appropriate precision screwdrivers. Use a canister of dry compressed air to blow dust out of fan blades and radiator fins, making sure to hold the fan blades gently with a finger so they do not over-spin and damage their fluid bearings. You will be amazed at how much trapped dust flies out of a six-month-old laptop.
Additionally, evaluate where you physically operate your laptop during daily use. Placing a high-performance laptop directly on soft surfaces like blankets, beds, or plush couches smothers bottom intake vents completely, trapping heat inside the chassis and forcing fans to scream. Always operate your laptop on hard, flat surfaces, or use a basic angled laptop stand to elevate the rear chassis slightly and maximize fresh airflow into intake vents.
Phase 3: BIOS Firmware Updates, Driver Cleans, and Undervolting
System firmware plays a massive role in managing fan behavior and voltage delivery curves across CPU and GPU hardware. Laptop manufacturers regularly release updated BIOS versions through the MyASUS companion app to adjust fan response curves, fix thermal reporting bugs, and optimize power limits. Running an outdated system BIOS can leave your machine stuck with aggressive, un-optimized fan profiles that react erratically to minor temperature blinks.
Check the MyASUS app or official support page for your specific laptop model and update to the latest BIOS version following instructions carefully. Furthermore, perform a clean reinstallation of your graphics drivers using Display Driver Uninstaller (DDU) in Windows Safe Mode. Corrupted GPU drivers can fail to down-clock graphics memory properly during idle desktop use, generating continuous background heat that keeps fans spinning continuously.
For advanced technical users operating supported Intel or AMD processors, slight CPU undervolting or lowering maximum boost wattage targets using utilities like Throttlestop or Ryzen Controller provides incredible thermal relief. Lowering processor voltage targets by tiny increments reduces heat generation dramatically while maintaining 95% of peak computing performance. It is a fantastic trick for achieving whisper-quiet operation during heavy workloads.
Phase 4: Repasting Thermal Compound and Liquid Metal Considerations
When a laptop is several years old and physical dust removal fails to restore reasonable temperatures, the factory thermal paste bridging the gap between processor dies and copper heat pipes has likely dried out and cracked. Dried thermal paste creates microscopic air gaps that insulate heat rather than conducting it away, causing thermal energy to build up on the processor die instantly under load.
Replacing dried thermal compound with high-performance aftermarket thermal paste (or high-density phase-change thermal pads like Honeywell PTM7950) completely restores thermal transfer efficiency. Carefully clean away old, hardened paste using 99% isopropyl alcohol and cotton swabs, then apply a fresh, even layer across the shiny silicon dies before re-mounting the cooling assembly with even screw tension.
If your laptop model utilizes liquid metal thermal compound from the factory—as many modern ROG laptops do—exercise extreme caution during maintenance. Liquid metal is electrically conductive, and improper handling can cause short circuits that permanently destroy motherboard circuitry. Unless you have diagnostic experience handling liquid metal safely in a workshop setting, leave liquid metal servicing to qualified repair technicians.
Preventive Maintenance Schedule for Long-Term Laptop Health
Fixing thermal noise issues is fantastic, but establishing a regular preventive maintenance routine keeps your laptop running cool and quiet over its entire lifespan. To help you structure an easy maintenance routine, the following table outlines recommended service intervals based on my years of hardware diagnostics in Boise:
Maintenance Task | Recommended Service Interval | Primary Objective | Required Tools / Materials |
Airflow Vent Cleaning | Every 1 – 2 Months | Clear dust from intake vents | Canister of compressed air |
Internal Deep Cleaning | Every 6 Months | Remove trapped radiator lint | Precision driver & compressed air |
Software & Driver Audit | Every 3 Months | Eliminate background power hogs | Windows Task Manager & DDU |
Thermal Paste Refresh | Every 2 – 3 Years | Restore die-to-copper conduction | PTM7950 or high-grade paste |
Following this simple preventive routine prevents sudden thermal throttling disasters during important projects or gaming sessions. Taking proactive care of your cooling system ensures reliable, whisper-quiet performance year after year.
Tame Your Laptop Thermals with Confidence
Concluding our diagnostic guide demonstrates that excessive fan noise and overheating are solvable ownership challenges rather than permanent hardware flaws. By systematically auditing background software, clearing physical dust buildup, updating system BIOS firmware, and maintaining proper surface clearance, you can restore your laptop to quiet, efficient operation.
The spec sheet promises high clock speeds, but keeping your cooling system clean ensures those clock speeds remain sustained without deafening fan noise. Treat your laptop to basic maintenance, keep intake vents clear, and enjoy a fast, whisper-quiet computing setup.

No signals yet — transmit the first.